


Introduction
If you’re building a WordPress website that sells products, offers services, or accepts bookings, having a reliable payment gateway is a must.
But here’s the thing — integrating a payment gateway in a WordPress website isn’t just about slapping on a plugin. It’s about choosing the right gateway for your business needs, ensuring secure transactions, and delivering a frictionless experience to your customers.
The good news? WordPress makes this process far easier than you might think — no complicated coding, no tech headaches. In this blog, we’ll walk you through how to integrate payment gateways in WordPress, popular options to consider, and the essential steps to get your website payment-ready.
Let’s dive in and turn your WordPress site into a revenue-generating machine!
“Payments aren’t just about transactions; they’re about building trust, reducing friction, and keeping customers coming back.”
How to Add Payment Gateways to a WordPress Website in 7 Steps Guide
Step 1: Identify Your Payment Requirements
Before choosing a payment gateway on WordPress, consider:
✅ Are you selling physical products, digital products, or services?
✅ Do you need recurring payments (e.g., subscriptions, memberships)?
✅ Do you plan to sell only in the US or internationally?
✅ What payment methods do your customers prefer — Cards, Apple Pay, Google Pay, PayPal, ACH transfers?
✅ Do you require invoicing, tax calculations, or multi-currency support?
Understanding this step in the How to integrate payment gateway in WordPress process ensures the most suitable gateway that aligns with your business needs & target audience.
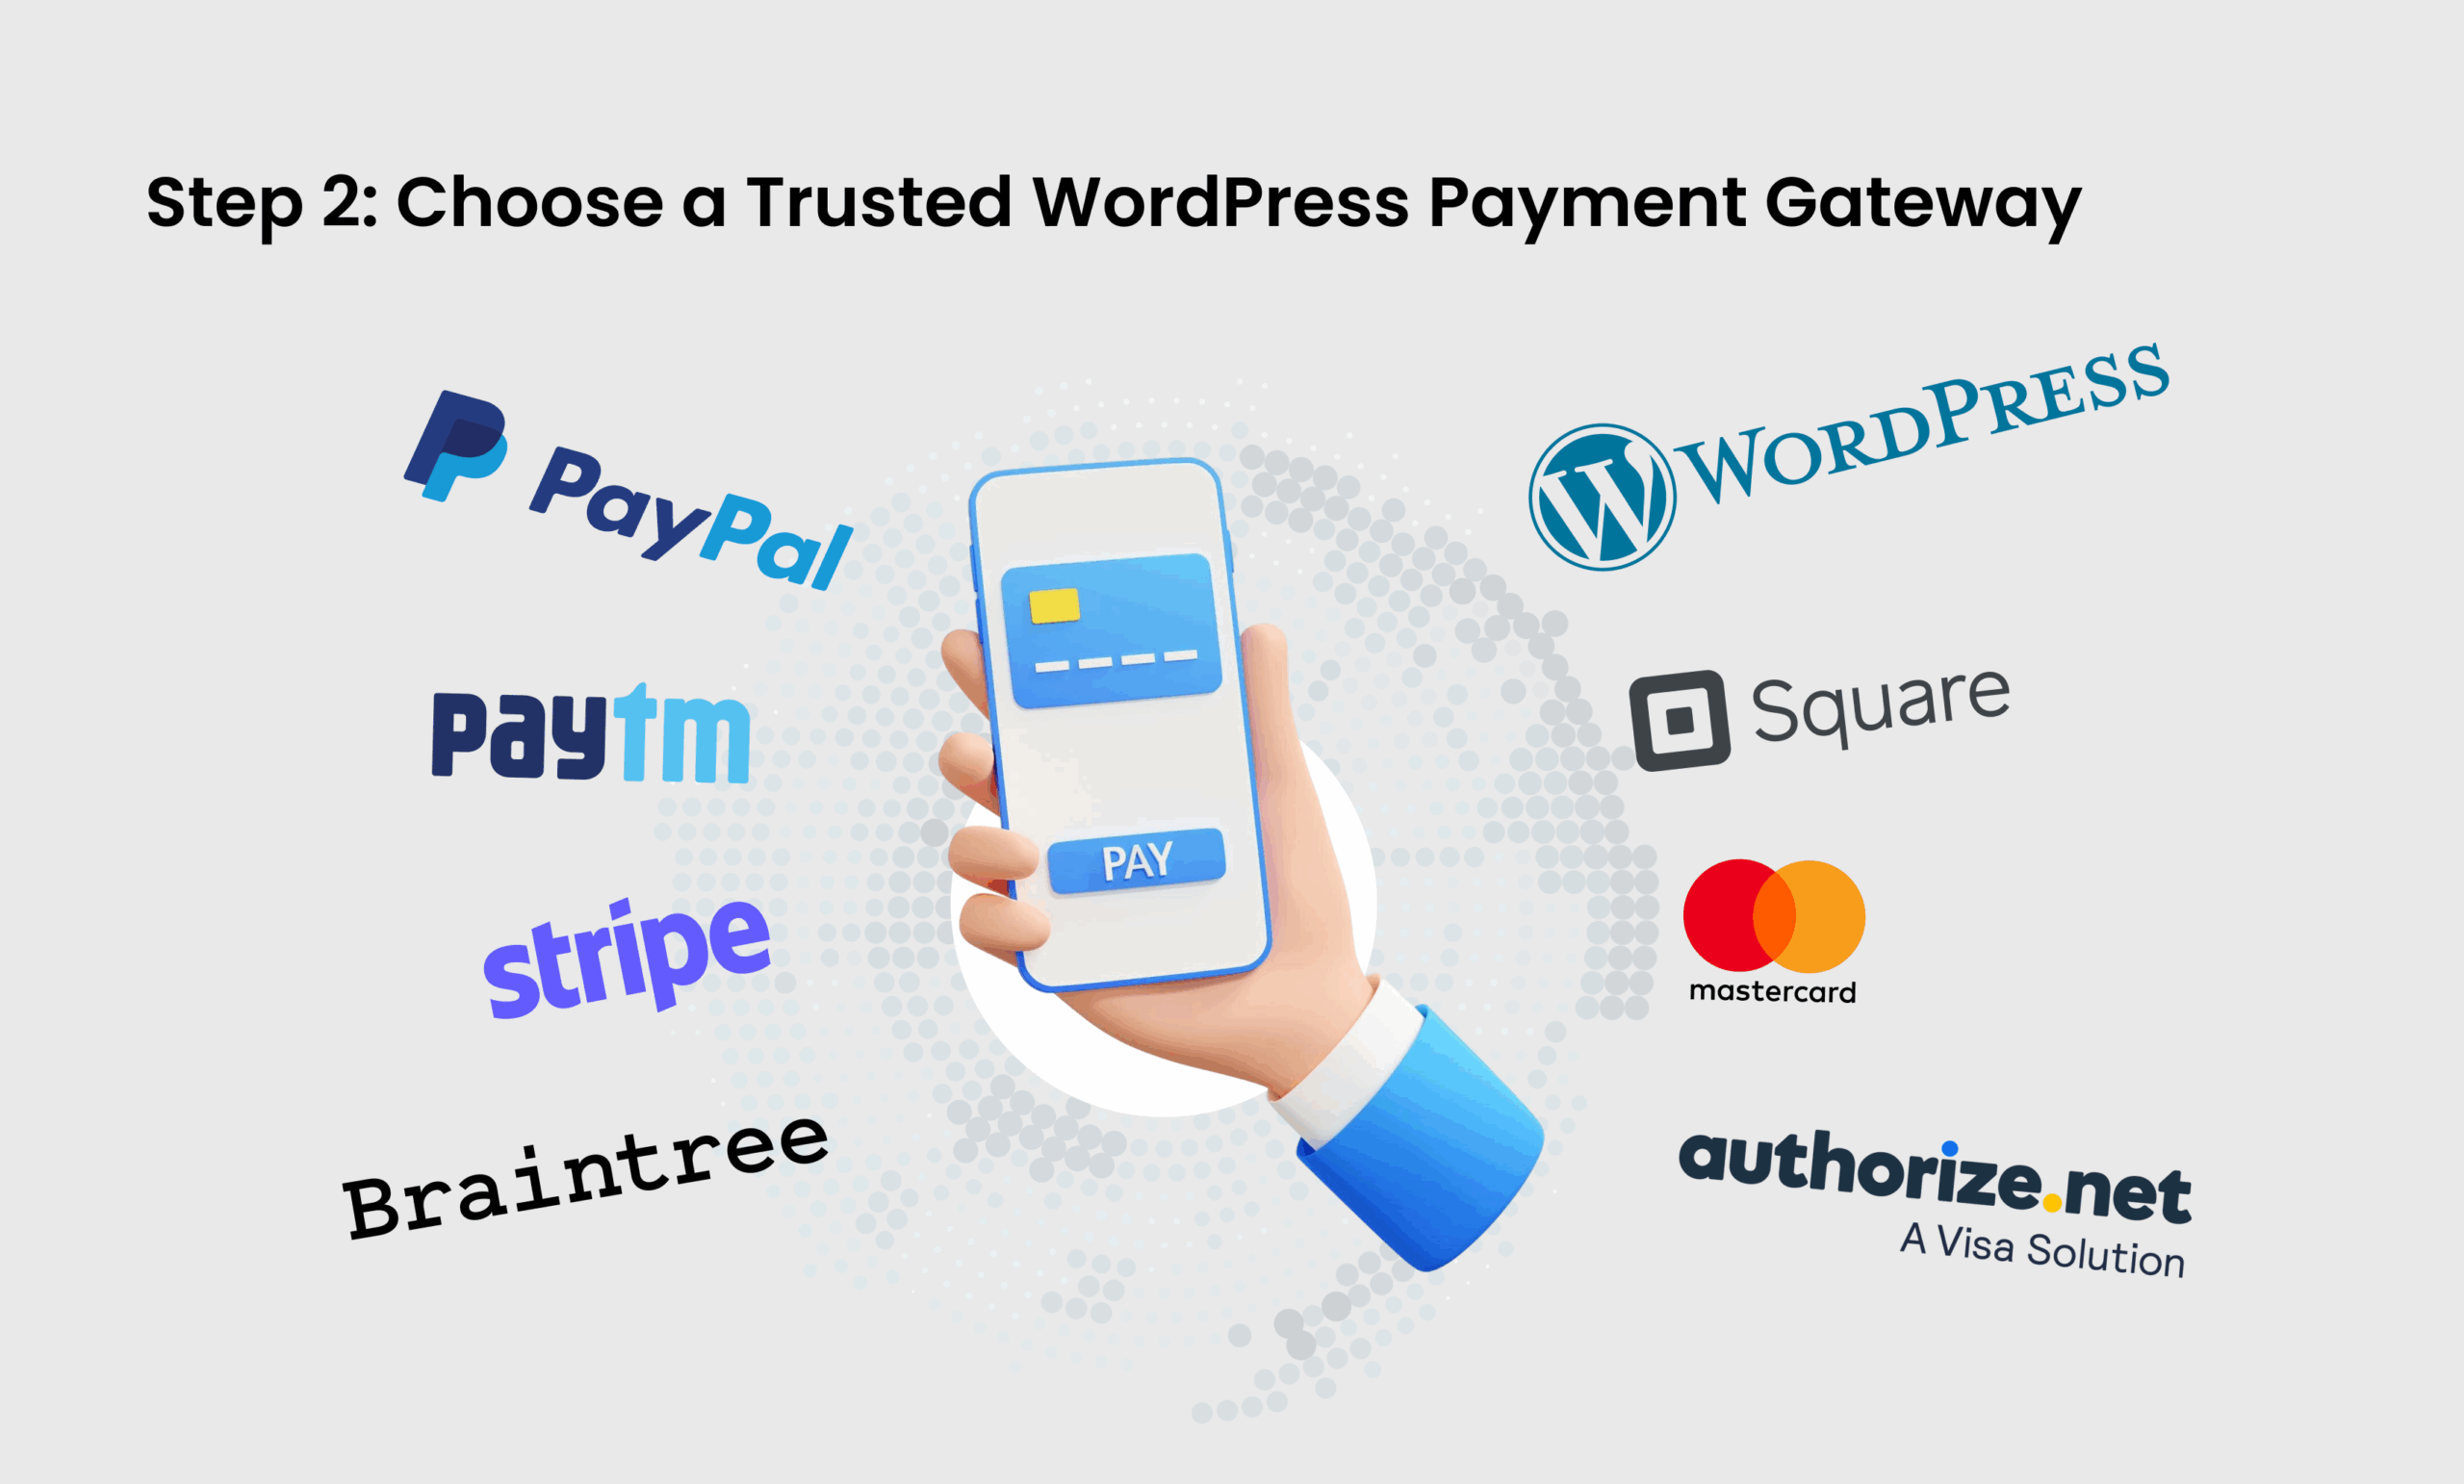
Step 2: Choose a Trusted WordPress Payment Gateway
Here are the top-rated gateways you should know about:
| Payment Gateway | Best For | Transaction Fee (Approx) | Recurring Billing | Global Payments |
|---|---|---|---|---|
| Stripe | eCommerce, SaaS, Global Payments | 2.9% + 30¢ per transaction | Yes | Yes |
| PayPal | Freelancers, Small Businesses, Global Users | 3.49% + fixed fee (varies by currency) | Limited | Yes |
| Square | Small to Medium Businesses, US-focused | 2.6% + 10¢ in-person / 2.9% + 30¢ online | Yes | Limited (US, CA, UK, AU) |
| Authorize.Net | Large Businesses, Advanced Security Needs | 2.9% + 30¢ per transaction + $25 monthly fee | Yes | Limited (Primarily US) |
| Braintree | Subscription Services, Marketplaces | 2.59% + 49¢ per transaction | Yes | Yes |
Notes:
✔️ Fees may vary for different payment methods (e.g., AMEX often has slightly higher rates)
✔️ Braintree is a PayPal company, ideal if you want advanced payment options beyond basic PayPal
✔️ Global payments availability depends on the account setup and supported countries
Our recommendation for your WordPress website: Stripe offers the best balance of seamless integration, WordPress security, and global payment options. For added customer trust, consider combining it with PayPal at checkout.
Step 3: Install the Payment Gateway Plugin in WordPress
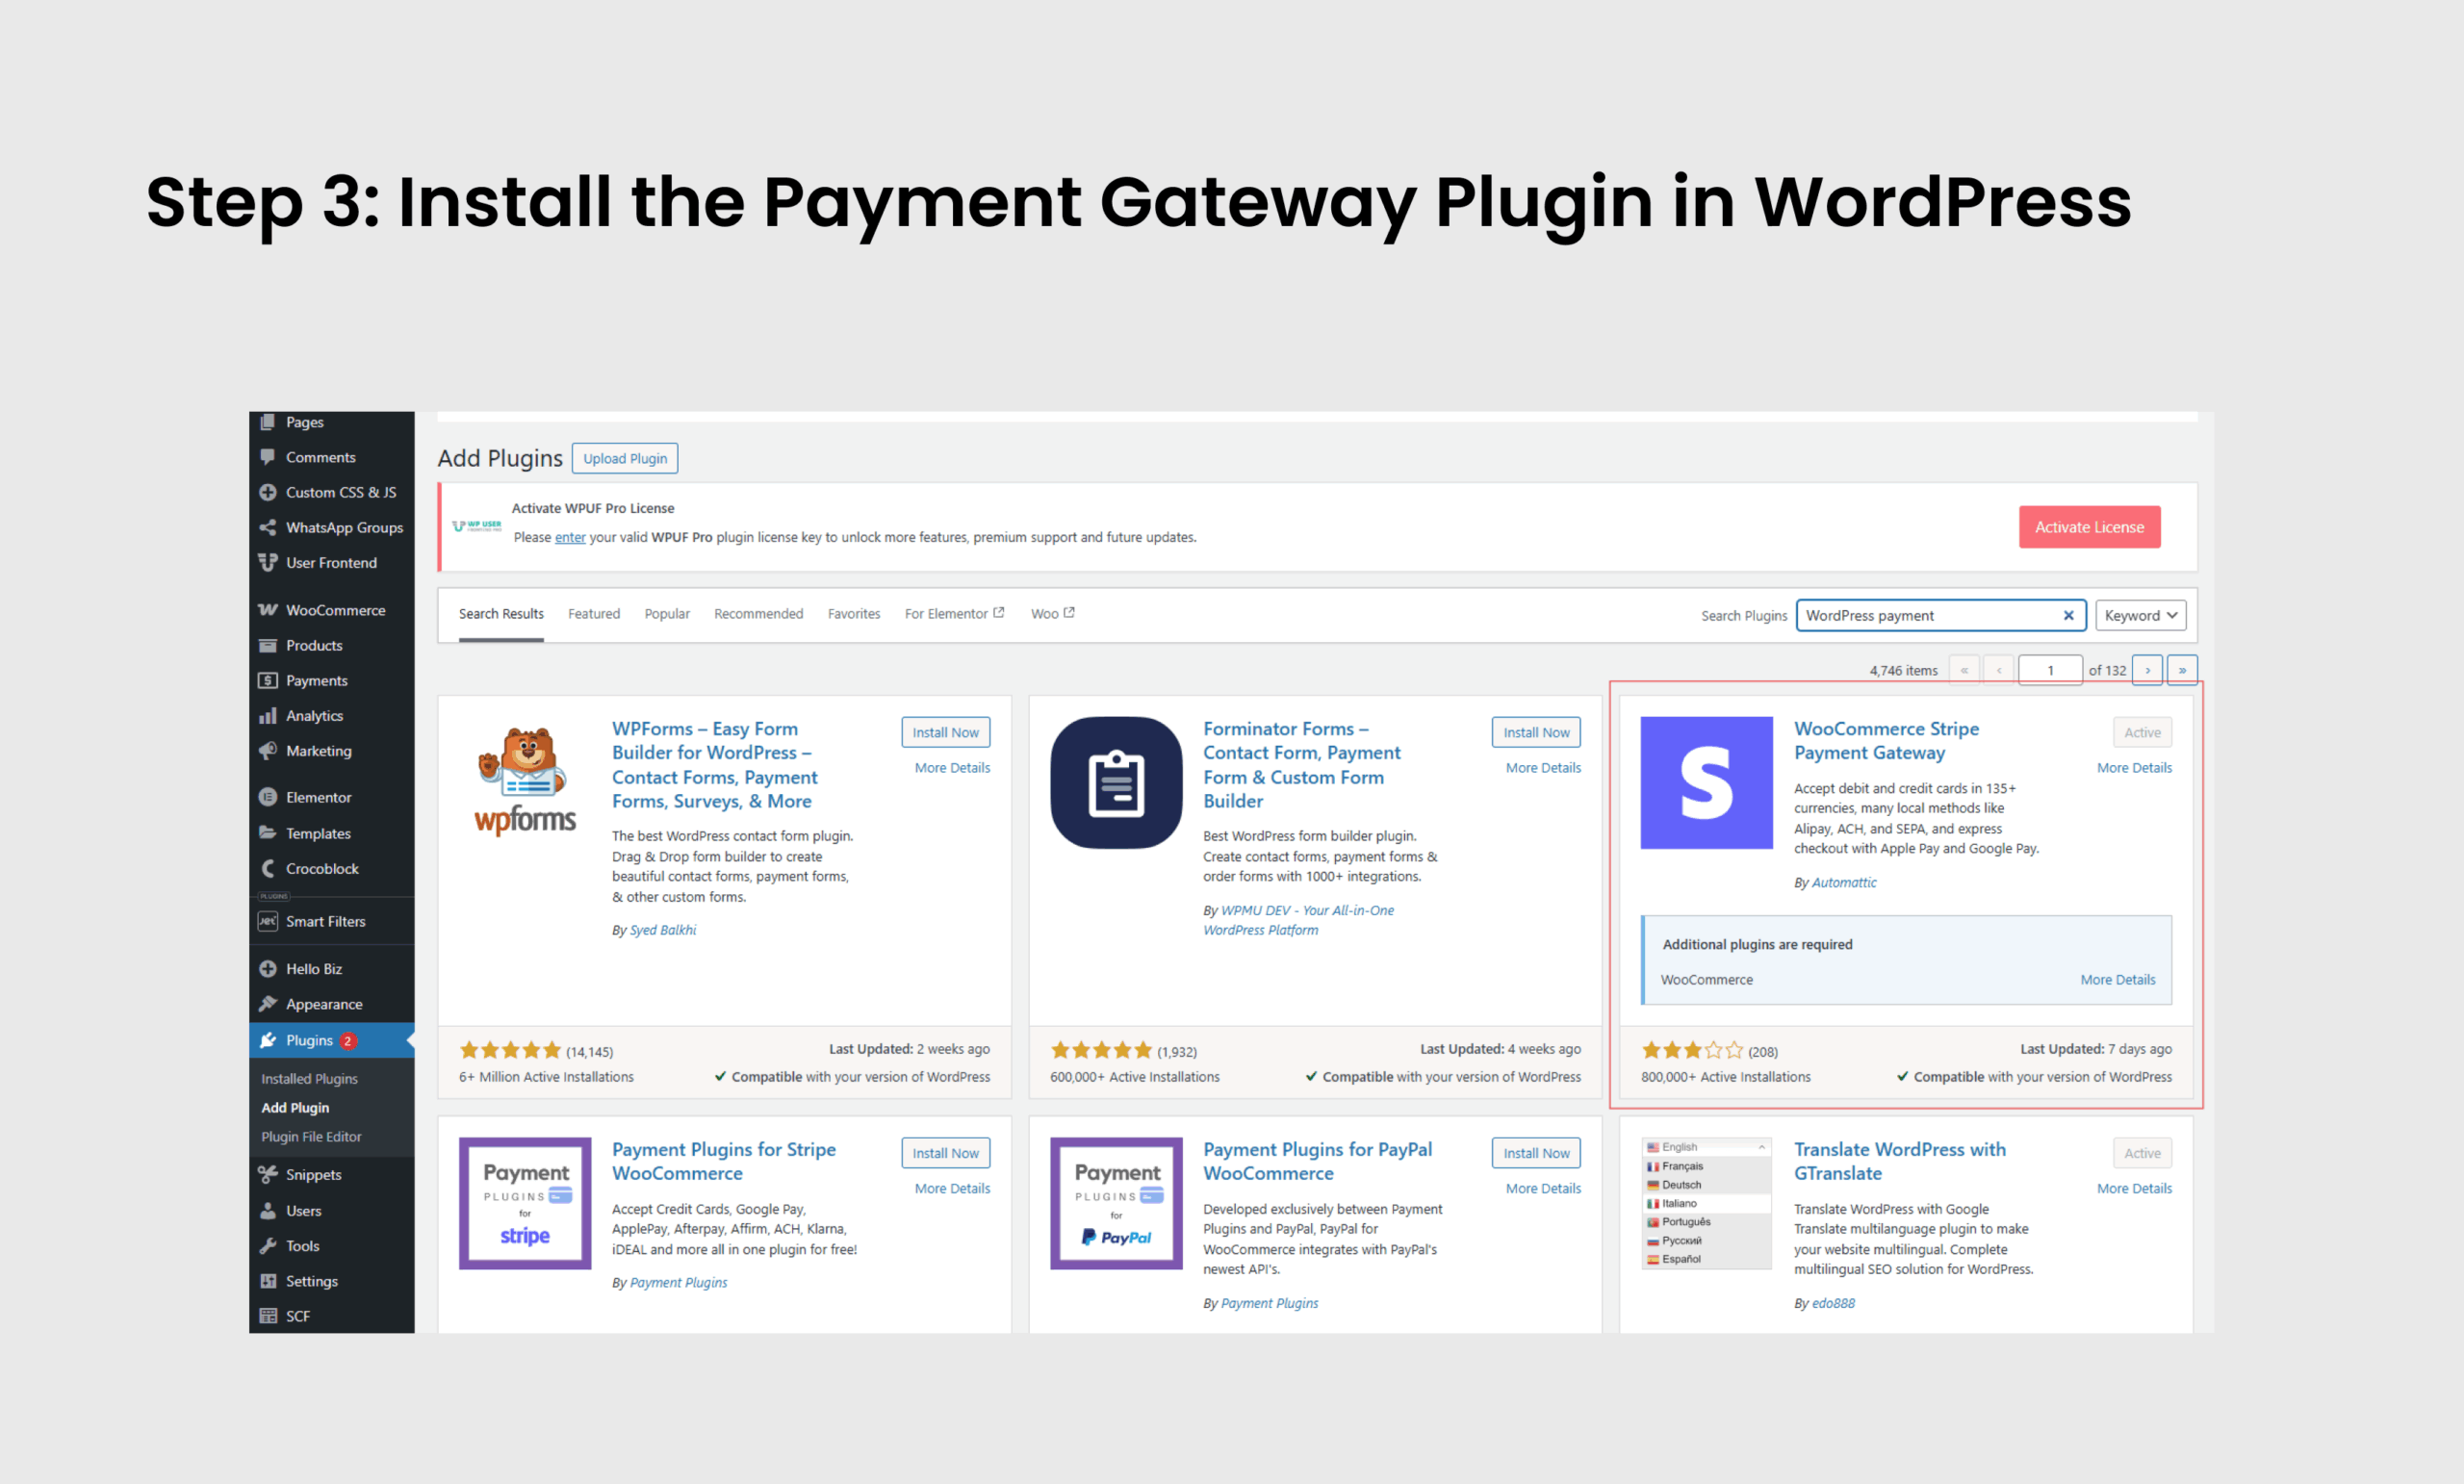
The easiest way to integrate your chosen gateway is by installing a WordPress plugin.
Steps to Install:
- Log in to your WordPress Admin Dashboard
- Navigate to Plugins → Add New
- Search for your payment gateway plugin (e.g., “Stripe for WooCommerce”, “Square Payments”, etc.)
- Click Install Now and then Activate
Step 4: Set Up a Merchant Account & Get API Credentials
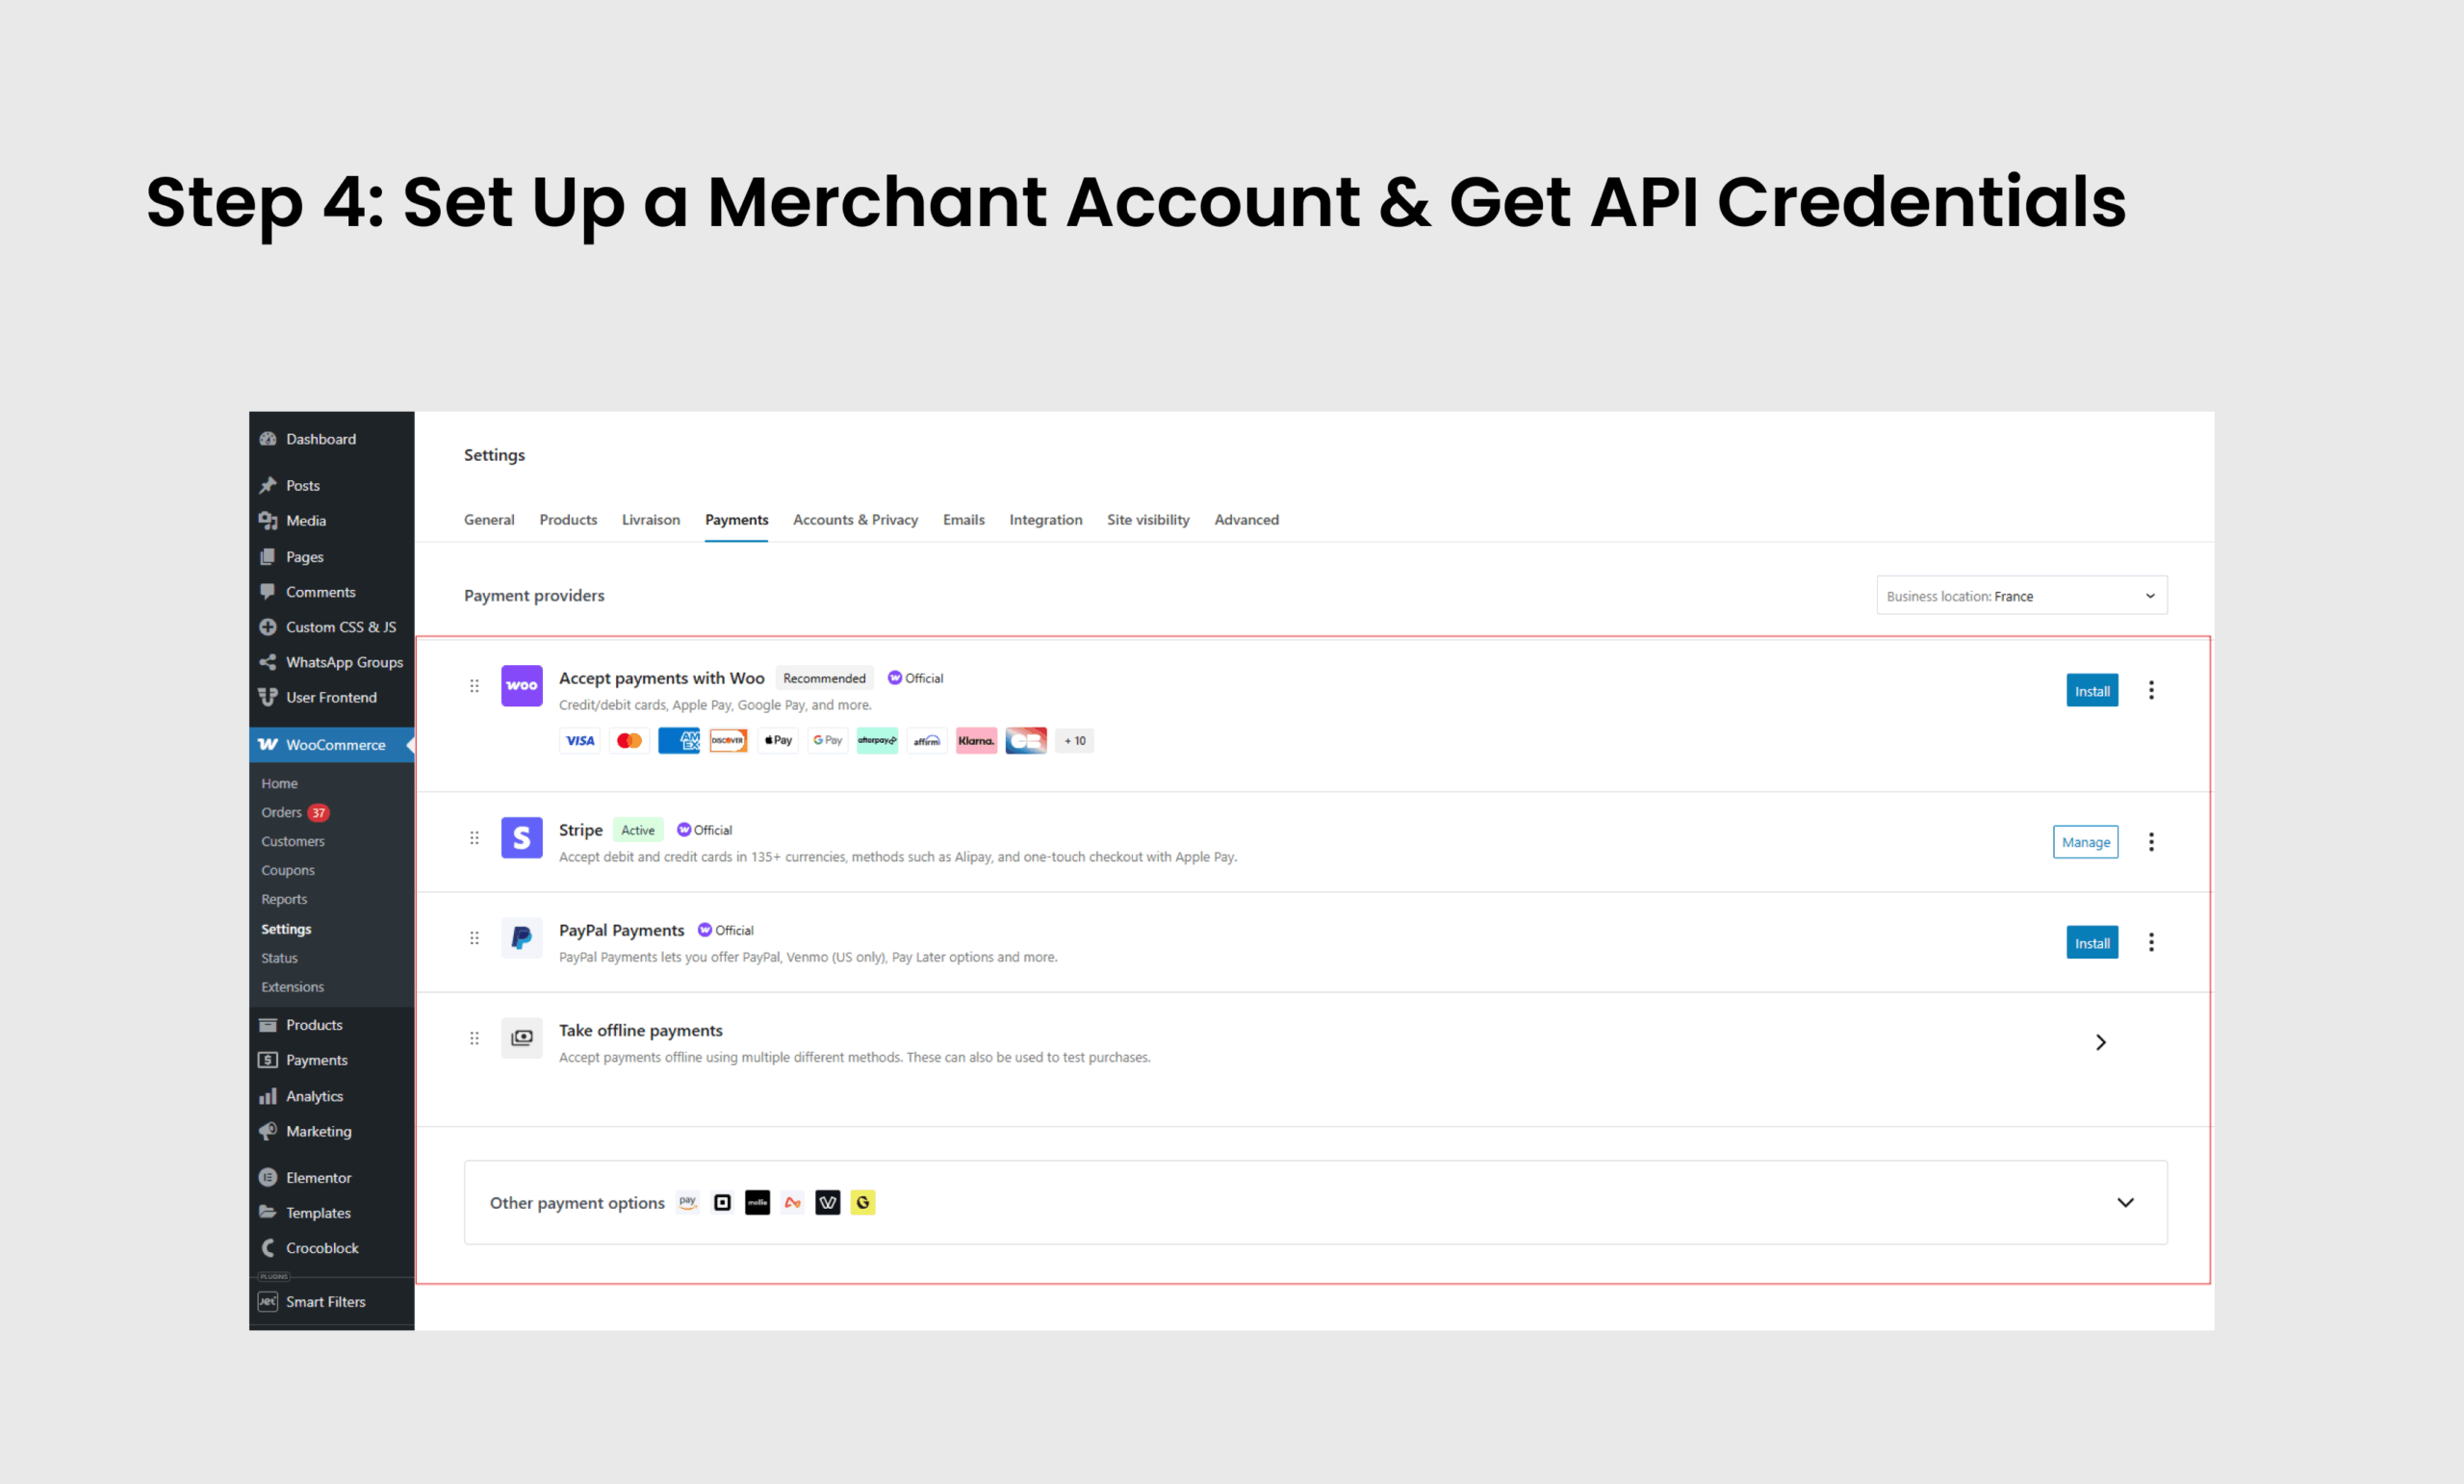
Most gateways require you to:
- Sign up for a merchant account on their platform
- Complete identity verification and compliance steps
- Obtain your API Keys, Client IDs, or Secret Keys — essential for linking your site securely
Tip: All major gateways offer both Test/Sandbox Mode and Live Mode for safe setup and testing.
Step 5: Configure the Payment Gateway in WordPress
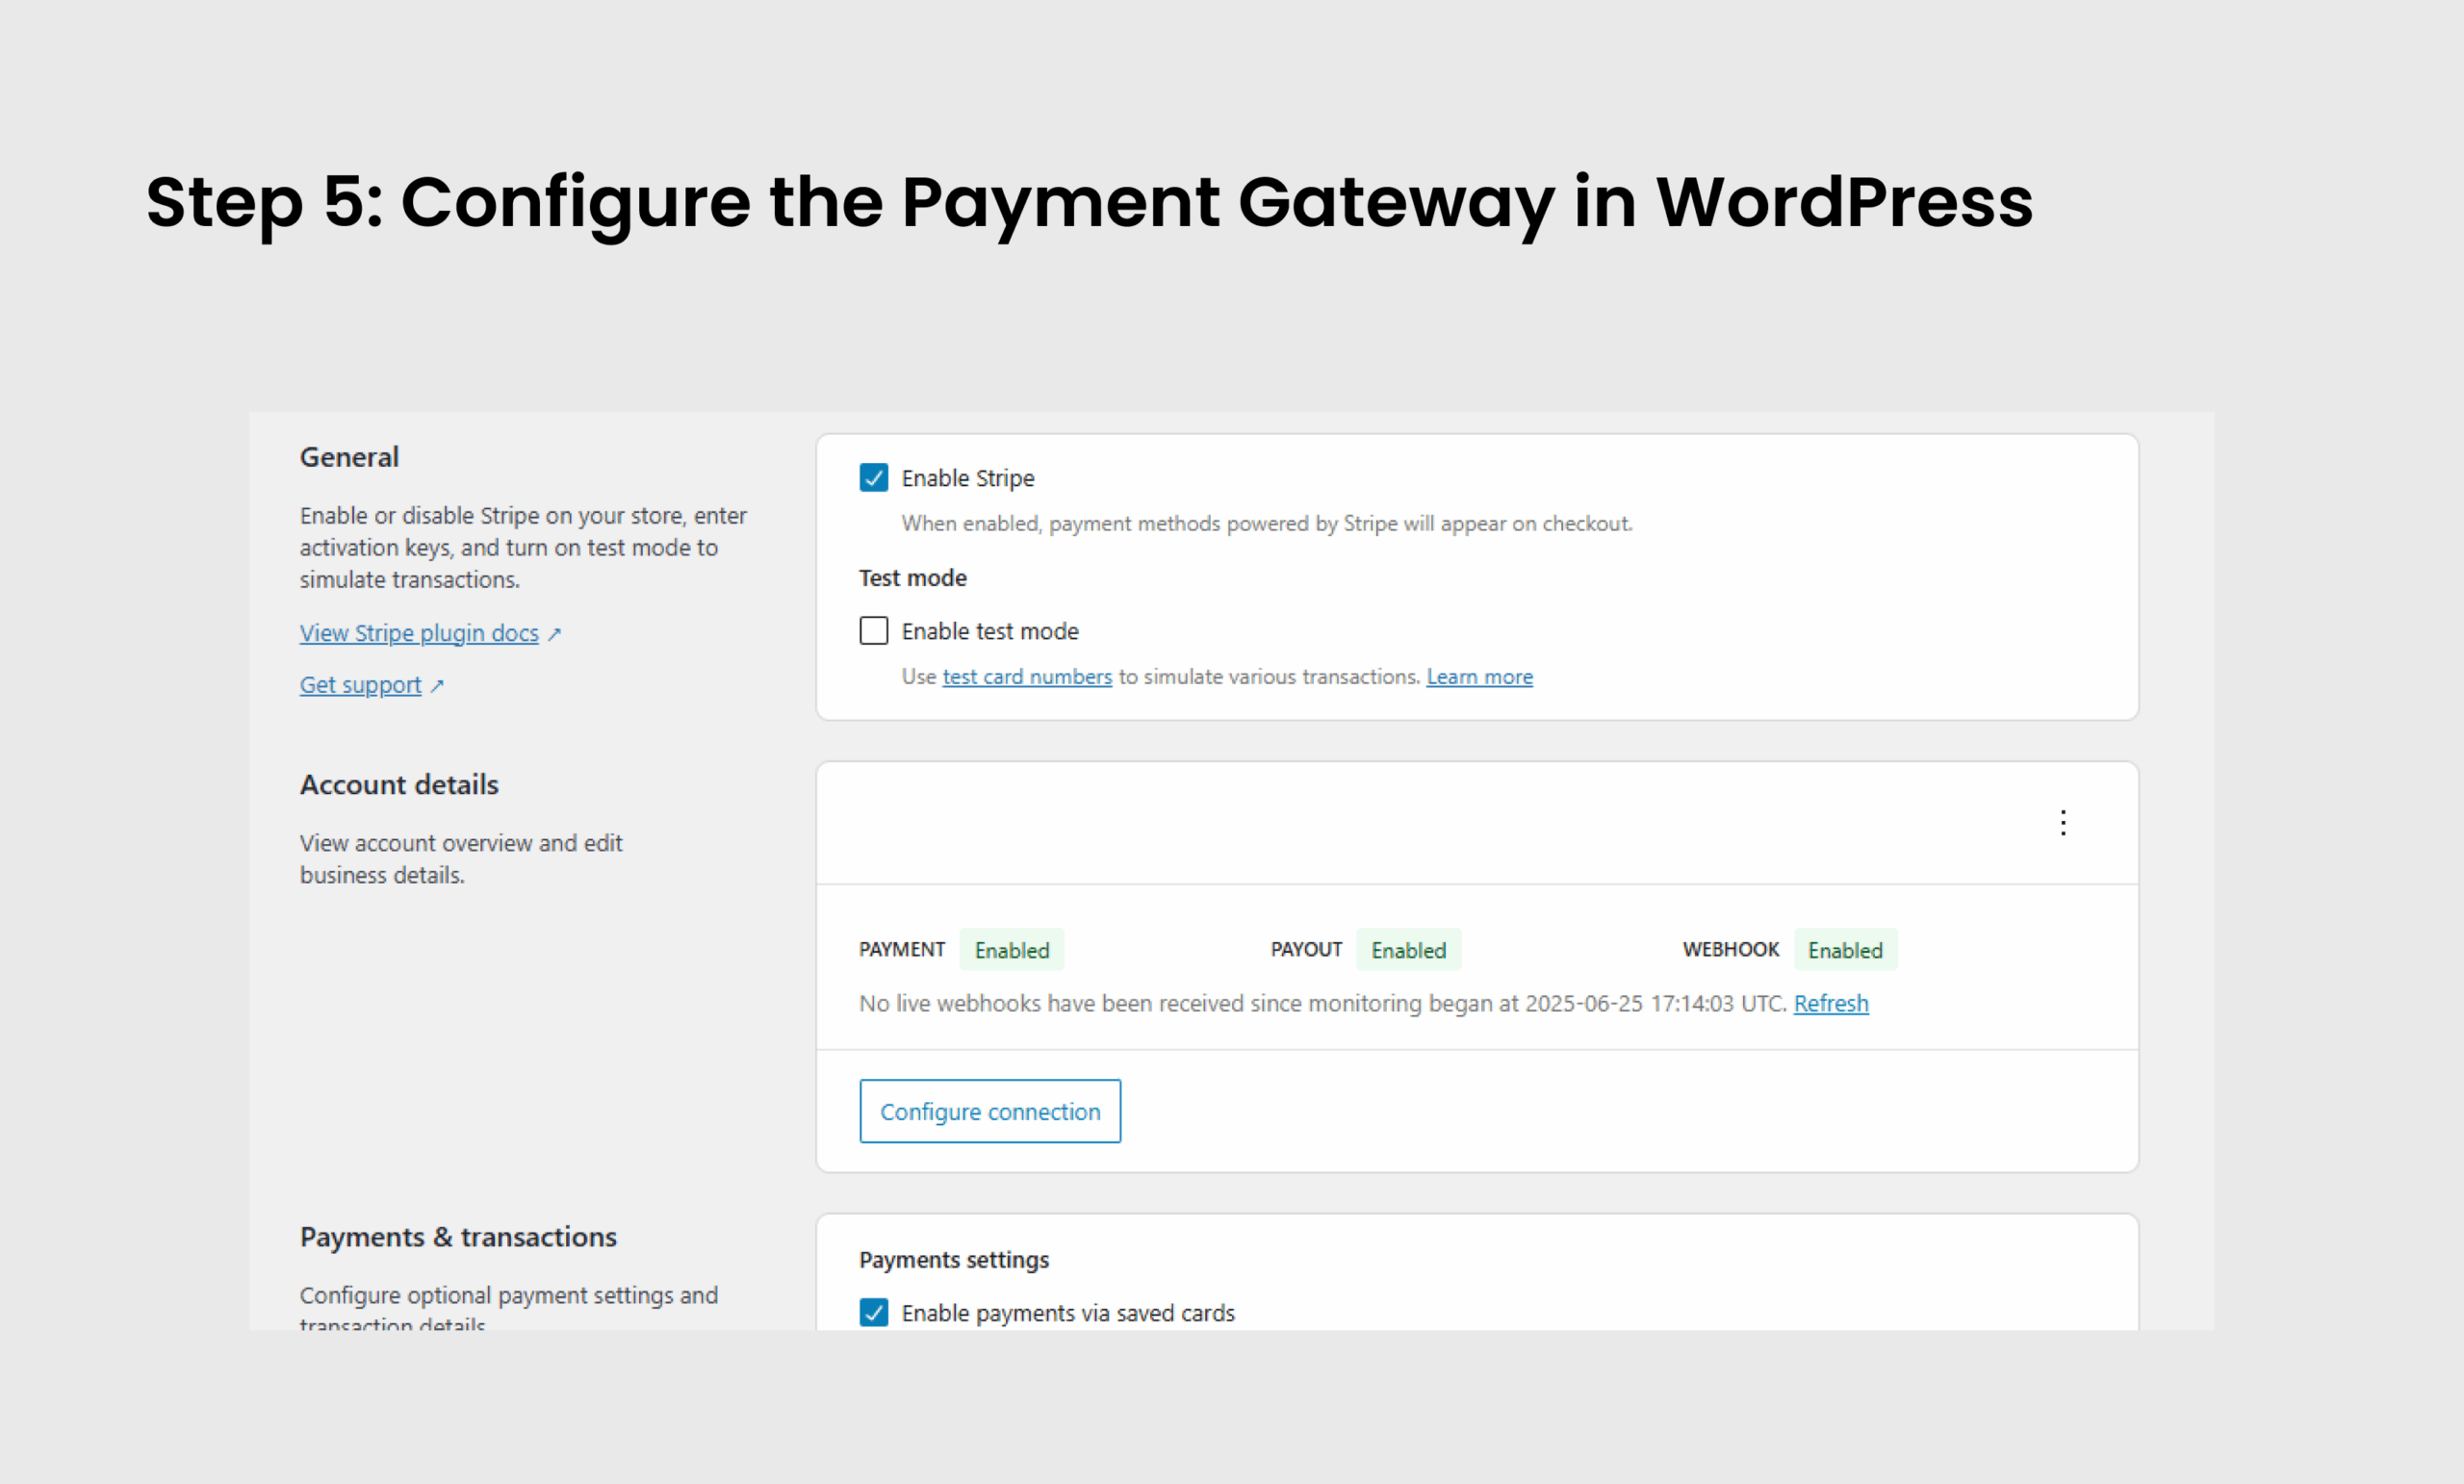
Once the plugin is activated:
- Go to WooCommerce → Settings → Payments, or the specific plugin’s settings section
- Select the payment gateway you installed
- Enter your API keys and account credentials
- Enable the preferred payment options (Cards, Apple Pay, PayPal, etc.)
- Set currency to USD or add multi-currency options if applicable
- Customize checkout messages and success pages
- Save all changes
Step 6: Test Your Payment Gateway Integration

Before accepting real payments:
✔️ Enable Test Mode/Sandbox Mode in your payment gateway and plugin settings
✔️ Run test transactions using dummy card details provided by the gateway
✔️ Verify successful and failed payment scenarios
✔️ Confirm email notifications, order statuses, and checkout functionality
✔️ Test the mobile and desktop checkout experience
Thorough testing ensures everything works smoothly before going live.
Tip from Enstacked Team: The majority of payment failures are preventable with proper testing and updated security protocols.
Quick Troubleshooting Checklist For You!
- Plugin updated to the latest version?
- API keys entered correctly (Test vs Live)?
- SSL certificate active?
- Test transaction works on mobile & desktop?
- Payment success/failure redirects configured?
Step 7: Switch to Live Payments

Once you’re confident the system is working:
- Disable Test Mode
- Enter Live API Keys and credentials
- Make a small real transaction to confirm everything functions correctly
Your WordPress site is now ready to accept real payments securely and efficiently, and we hope our guide on how to add a payment gateway to your WordPress website has helped you.
Hire developers to set up secure payment gateways and keep your site running flawlessly.
Best Practices for Secure & Optimized Payment Integration
- SSL Certificate is Mandatory — All payment pages must be secured with HTTPS
- Regular Plugin Updates — Keep your payment plugins and WordPress version updated to avoid vulnerabilities
- Display Accepted Payment Methods — Build customer trust by showing payment logos (e.g., Visa, Mastercard, PayPal)
- Leverage Built-in Fraud Protection — Most gateways offer tools to detect and block suspicious transactions
- Monitor Transactions via Gateway Dashboard — Regularly review payments, refunds, and chargebacks
Also, Here are the Common Pitfalls to Avoid!
- Forgetting to test transactions in multiple browsers and mobile devices
- Only offering one payment option — limiting customer choice
- Using outdated plugins that may cause security risks
- Not clearly showing payment success/failure messages on the site
To Wrap it Up!
Setting up a payment gateway in WordPress might seem technical at first, but you can get there with the right tools and a little guidance.
Start small, test everything, and always prioritize security.
The good news? WordPress offers the flexibility to integrate top global gateways like Stripe, PayPal, Square, and more without heavy coding or complex processes.
And remember — your payment gateway isn’t just a technical feature, it’s part of your customer experience. Get it right, and it keeps revenue flowing and customers coming back.
If you’re unsure where to start or simply want it done the right way, we’re here to help. At Enstacked, we’ve helped countless businesses set up secure, revenue-ready WordPress websites — and we can do the same for you.
Need expert support? Get on a free call with our experts and hire dedicated developers from India who are right for you.
Also Read Related WordPress Blogs:
Frequently Asked Questions(FAQs)
You can use standalone plugins like WP Simple Pay (for Stripe), PayPal Buttons, or embed payment forms via custom code or third-party platforms like Stripe Checkout—no WooCommerce needed.
Popular options include Stripe for flexibility, PayPal for global users, and Square for small businesses in the US. Your choice depends on business size, target market, and payment preferences.
The easiest way is to use official plugins from Stripe, PayPal, Square, or Authorize.Net, follow the setup instructions, and use Test Mode to verify transactions before accepting live payments.
Always use reputable plugins, install an SSL certificate (HTTPS), keep plugins updated, enable fraud protection tools, and test your setup thoroughly to ensure secure payments.